Running in Temp Paint Pics at Bottom
My Chopper Project
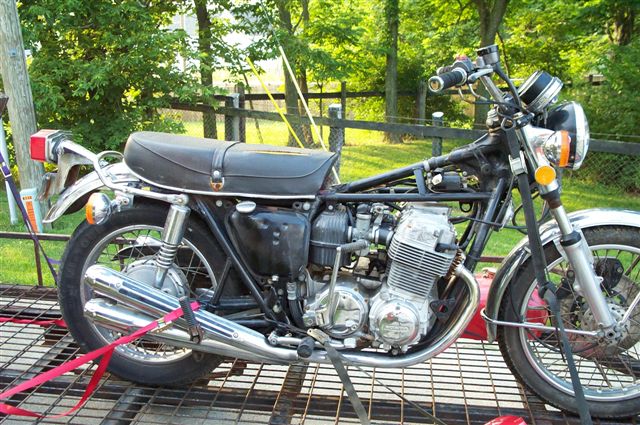
Picked up the stock bike in Indiana. Here it is on the trailer.
8
10
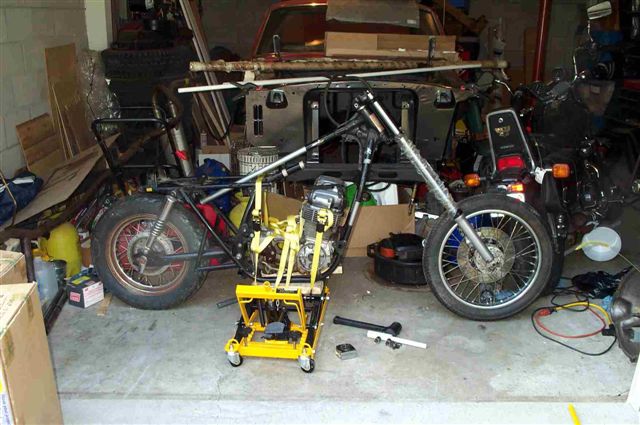
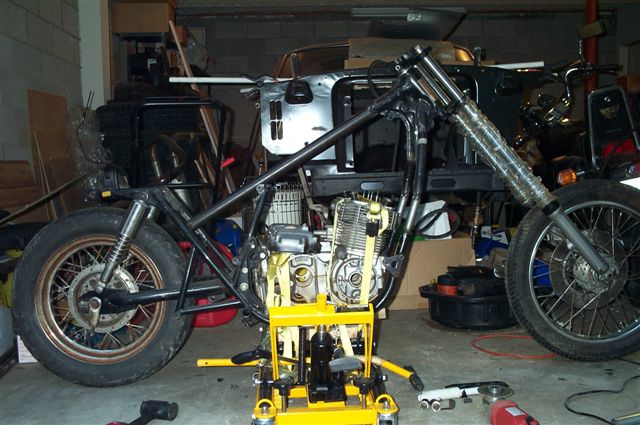
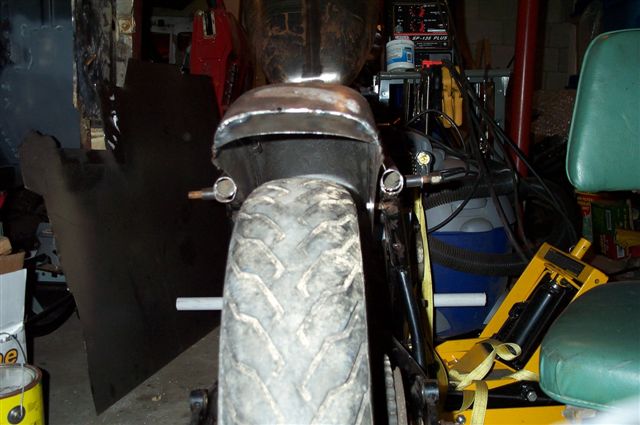
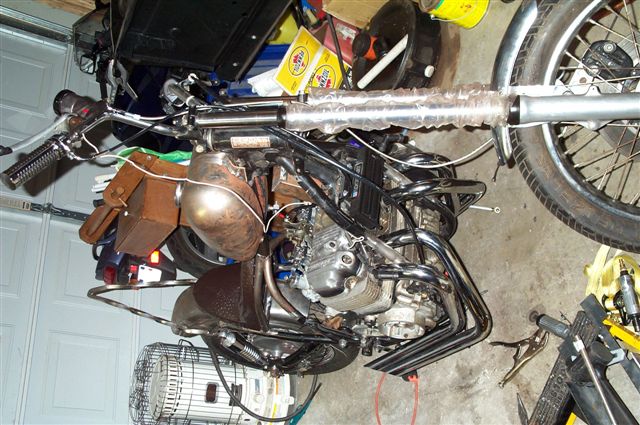
Completely stripped the bike on everything. Ordered 10" over forks from Franks. Borrowed a motor case to mount to keep the bolt holes in place. Borrowed a 16" rear wheel. Keeping the stock front wheel.
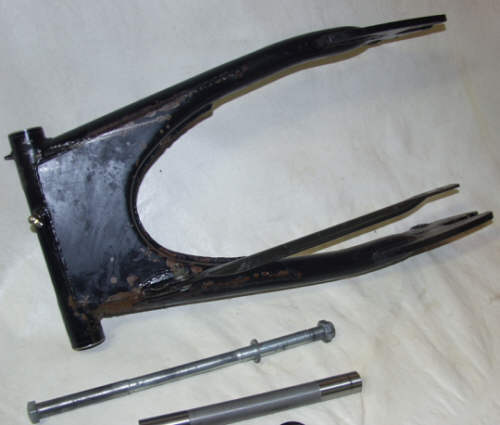
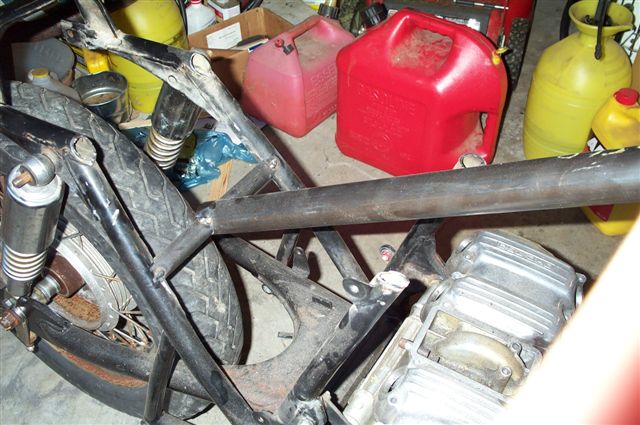
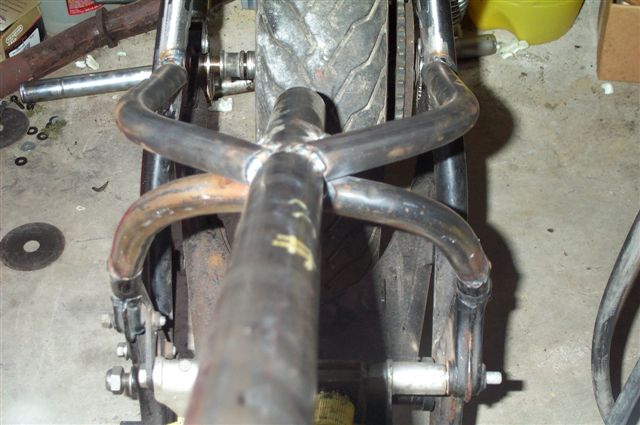
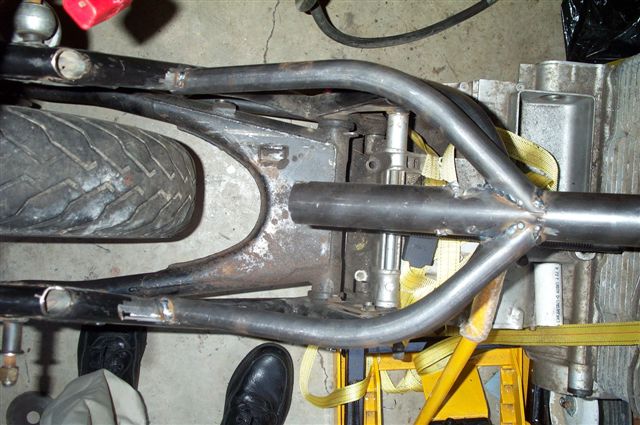
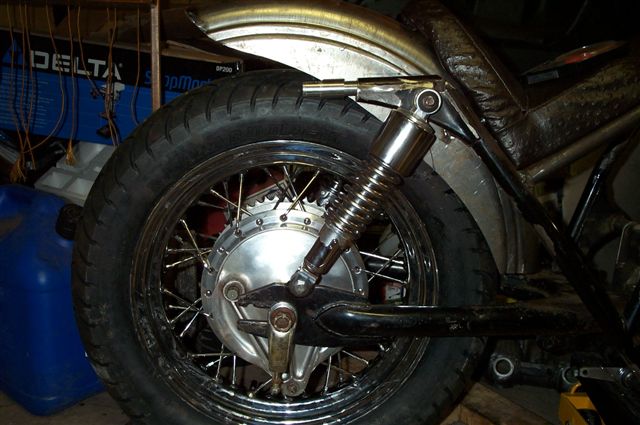
I bought a longer rear singarm that came off of a 1980 Honda CB750 C.
here
It was wider than I needed so I used a pipe to knock in the bearing futher and
then used a chop saw to trim off the right amount on both sides. If you do this,
stuff the bolt hole full of paper towels or something to keep the grindings
off of the bearings.
The bolt that runs through this swingarm is bigger in diameter so the frame
will need to be drilled. I have not done this yet. I used the old bolt to temporarly
hold on the new swingarm.
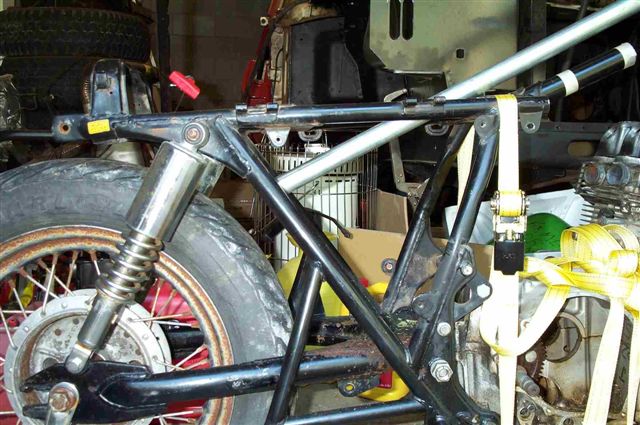
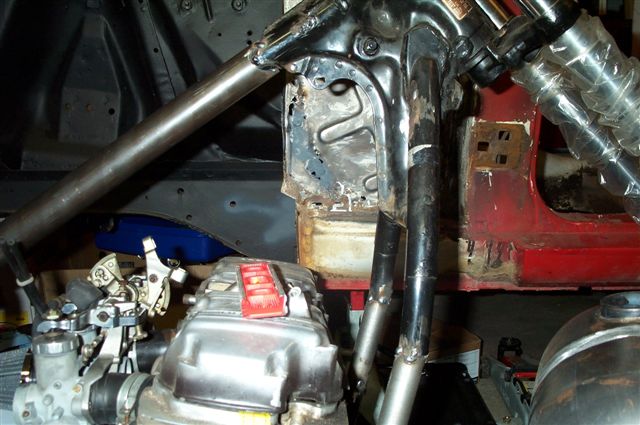
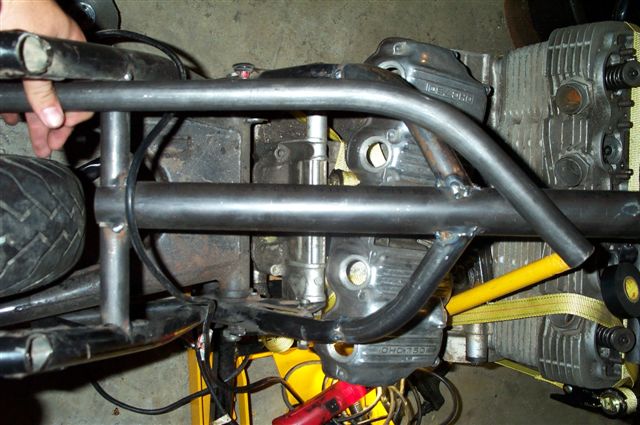
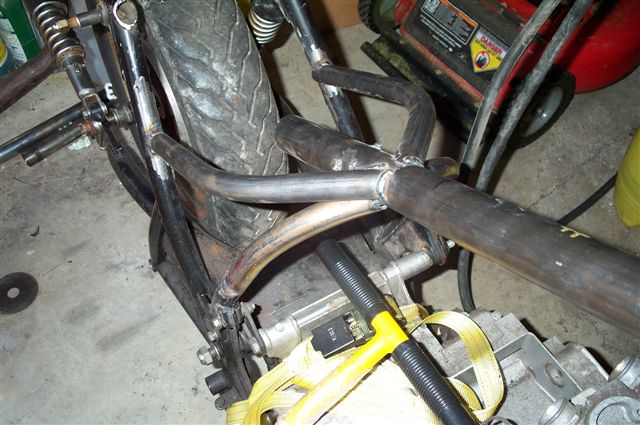
Chopped the neck at the center to the down tubes and the backbone. Note: if you do it my way, leave as much backbone on the neck as you can.
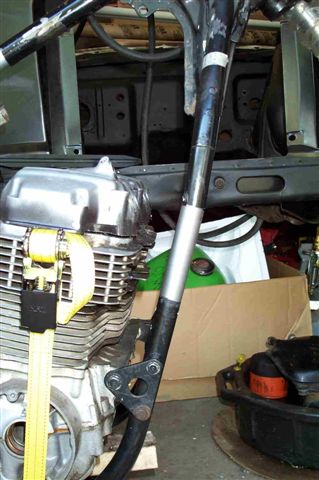
I used pieces of plastic pipe to check different heights for the stretch of the down tubes. I finally decided on 4.5". No real reason.
Had a buddy turn out 2 slugs from bar stock to lengthen the down tubes 4.5".
I put these in and used a small bottle jack to spread the slugs to get the neck
back on.
I believe that after a grind down the welds on the down tubes that they will
blend in nicely.
These pics show the slugs. A piece of conduit serves as the "backbone"
for the pictures.
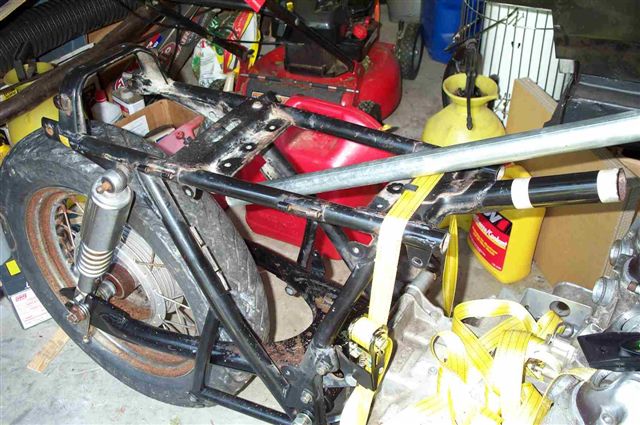
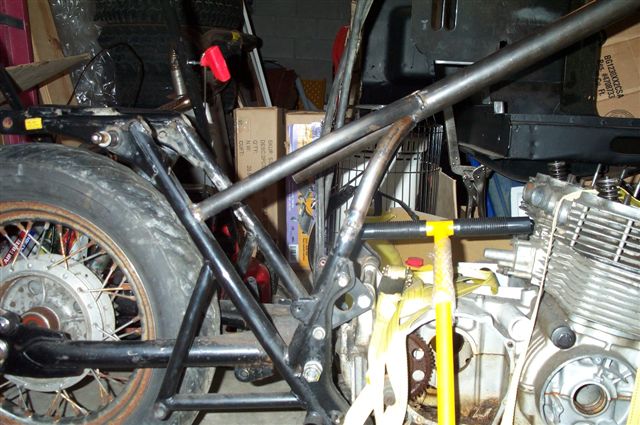
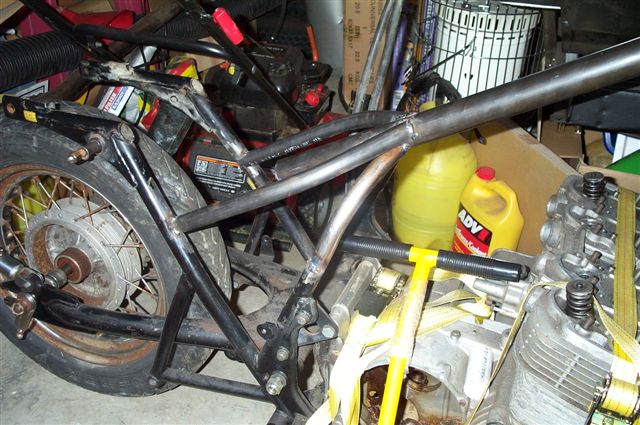
Got some steel pipe with 1/8" walls and the ID that matches the original
backbones OD. It slips over the original backbone and is pulled down to "rake"
the front. Originally I "T"ed it in. I did the "pull down"
with the front forks and tire on. Tried to level out the bike.
108
65
70
Here is the first way I brought up the seat posts ( later changed)
76
77
Used 1/8" wall 1 inch OD pipe for the seat rails.
79
After putting in the seat rails, I then changed the seat posts to match up.
89
90
91
92
93
94
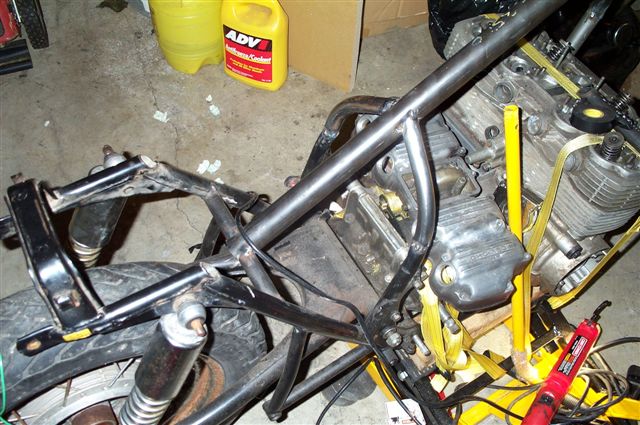
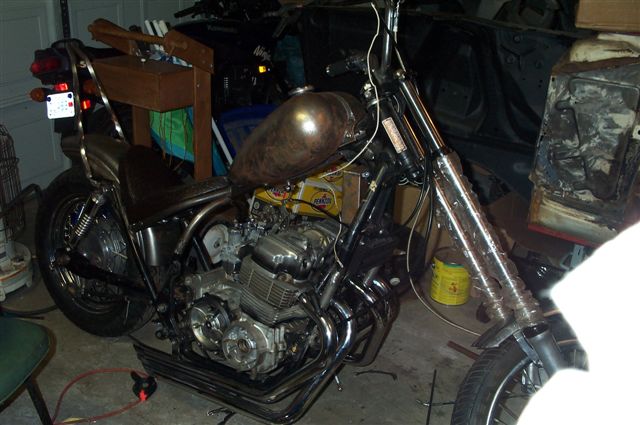
Decided to use 11" shocks
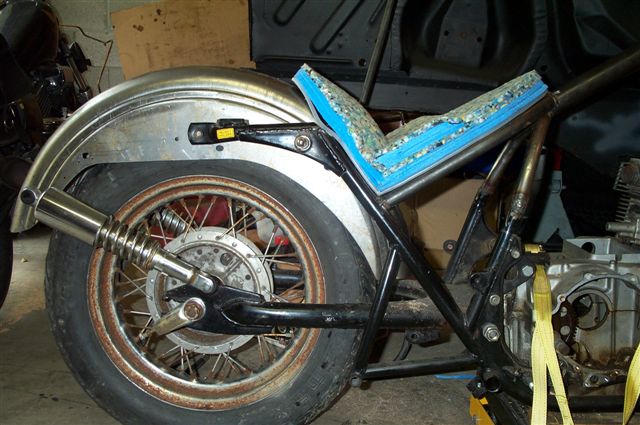
Order a fender from Dennis Kirk and mounted it
Added a bar between the seat rails to mount bottom of fender and added two nuts
used to join studs behind when the top shock mounts are. These will be used
to bolt on the fender a little higher than the bar.
I had purchased a seat from ebay but it did not look right.
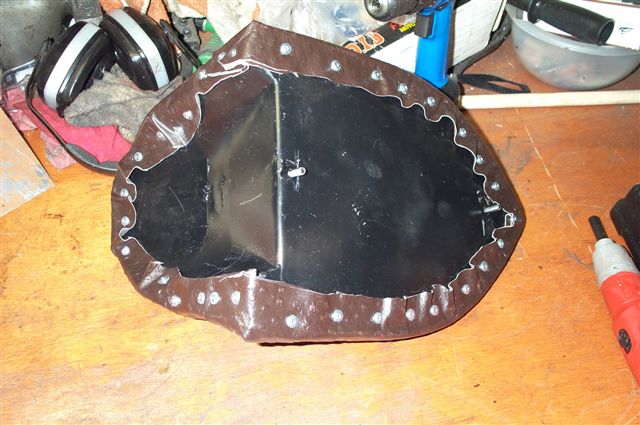
I put a sheet metal base to the bottom of the seat and then hammered out the
back of the seat so that it molds to the fender. Covered with a camping pad
foam and carpet padding. Edges will be rounded later.
95
96
117
118
Tried out a tank from a Vulcan. It fit great but I decided I did not want this
look
98
99
100
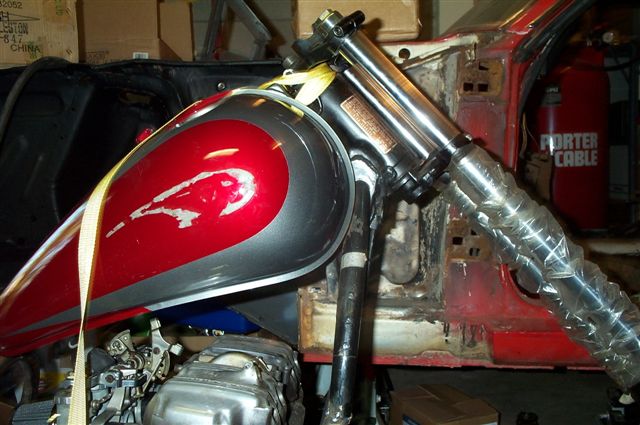
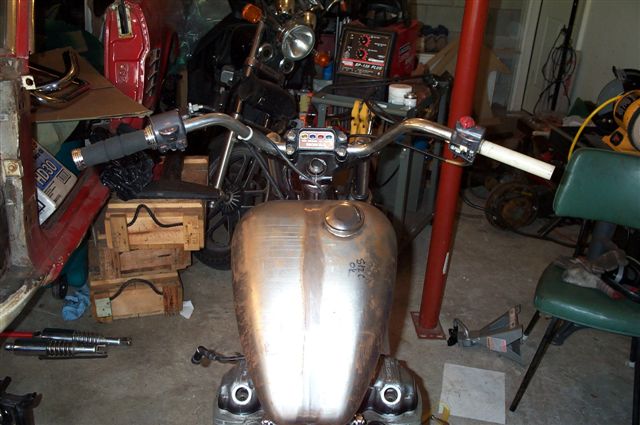
Purchased a Paughco Mustang tank
110
111
112
113
114
Cut down the fender. Looks more like a sport bike in these pictures. It looks
better in person though. If I had it to do over, I would move the fender closer
to the tire. But I have already covered the seat and it molds to the fender.
Not going to change now.
115
120
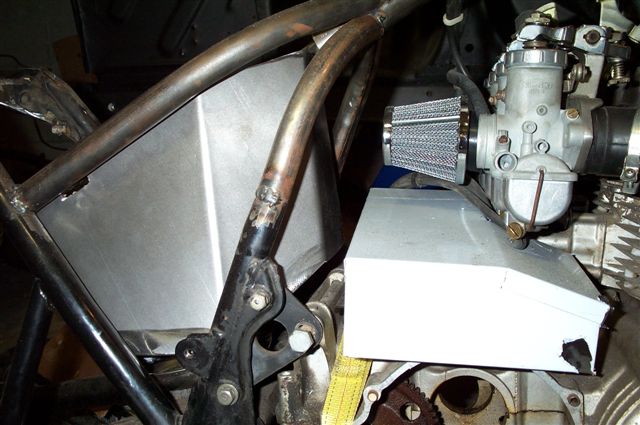
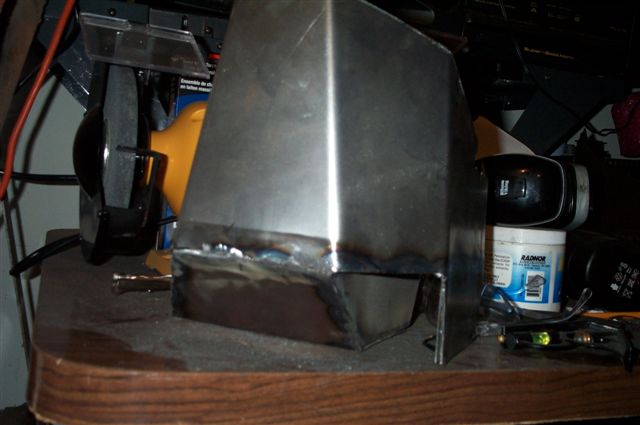
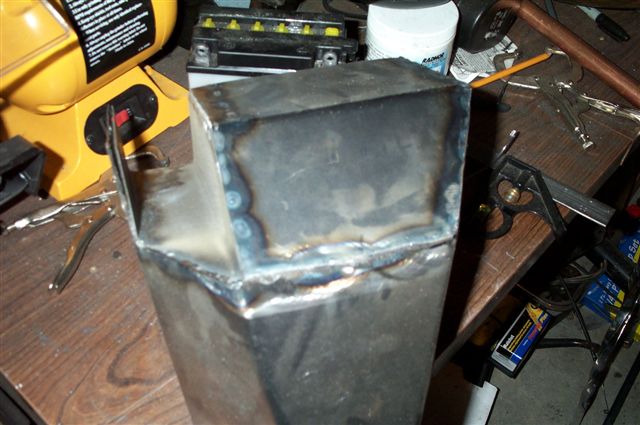
Started bending my own oil tank. Here is the beginning
122
124
125
126
Cut out place for the chain to run.
129
130
Still waiting for a buddy to tig weld the oil tank.
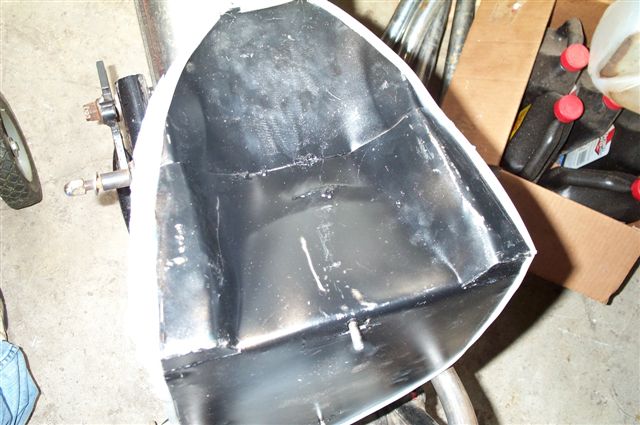
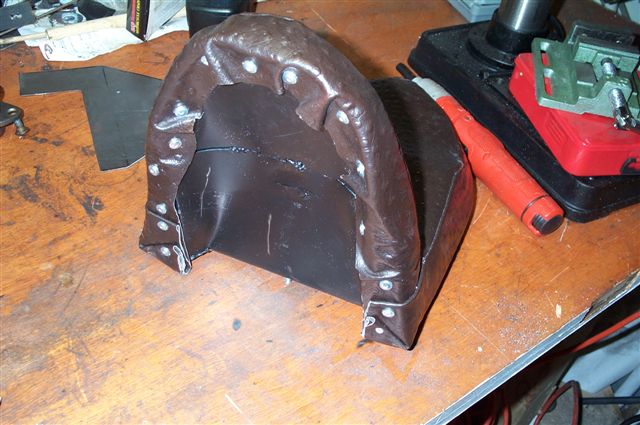
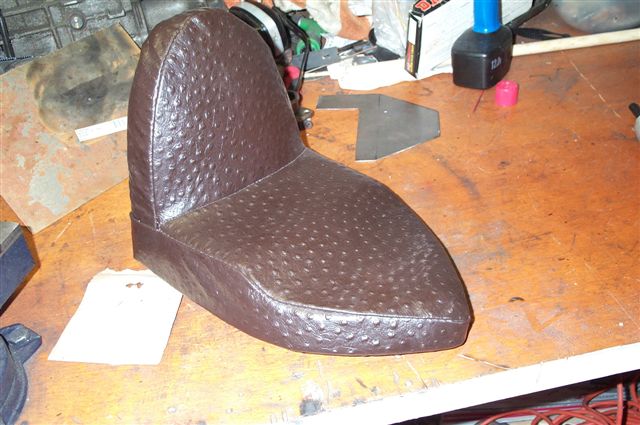
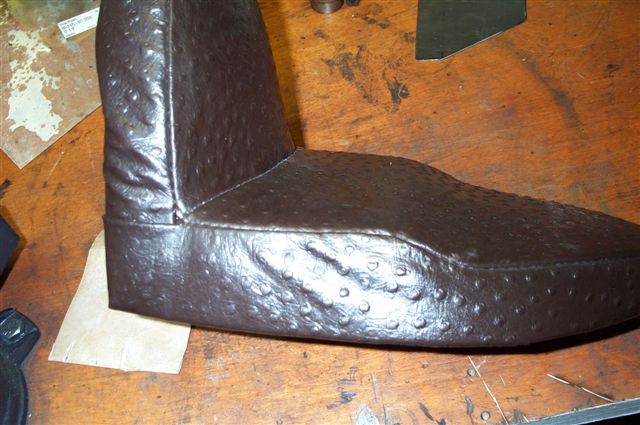
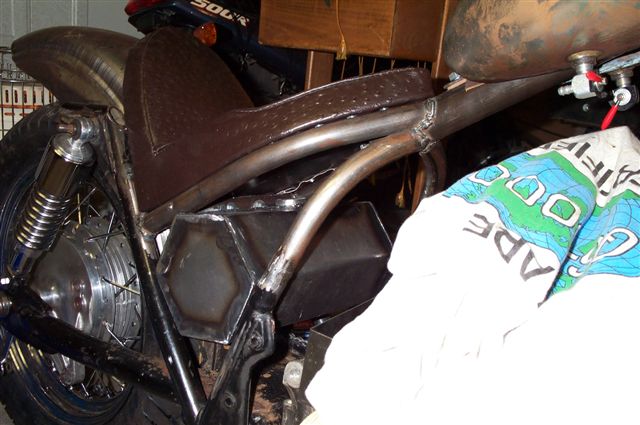
Hand stiched a leather cover for the seat and rivited it onto the seat pan.
240
241
242
243
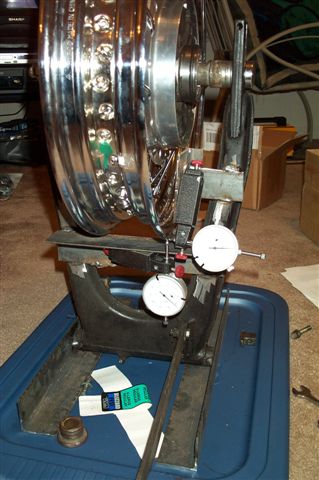
Laced up my rear hub to a 16 x 3 drop center harley hub and trued it up with
a stand I made from my old swingarm. I have ordered a 130 tire to put on it.
Rim
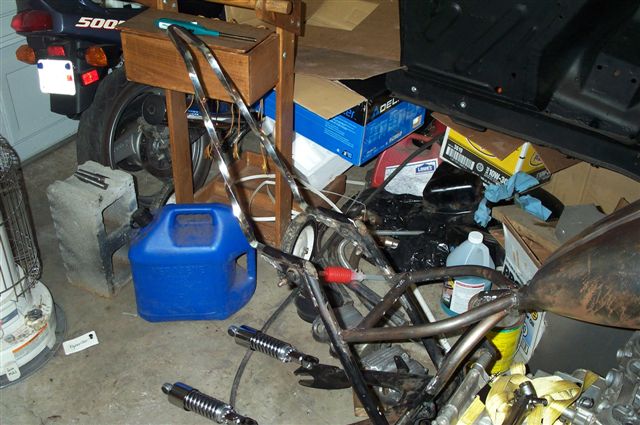
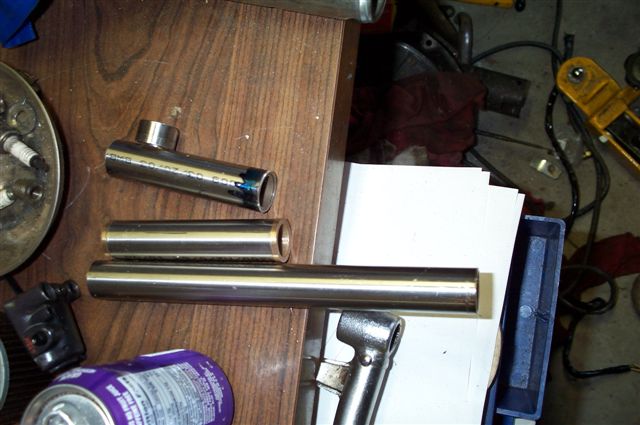
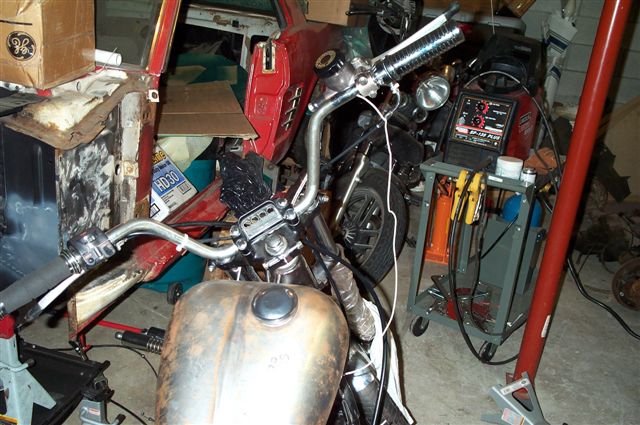
A buddy gave me a piece of 1"od stainless steel pipe to use as handlebars.
I then took the bike back apart.
Used a mig welder to weld up all of the joints on the frame. Then used the grinder
to smooth out everything. Also ground off all unneeded tabs and stuff.
Added a small piece to the back side of the rear fender. I believe it gives
the fender a better appearance. Welded it on and ground it down.
224
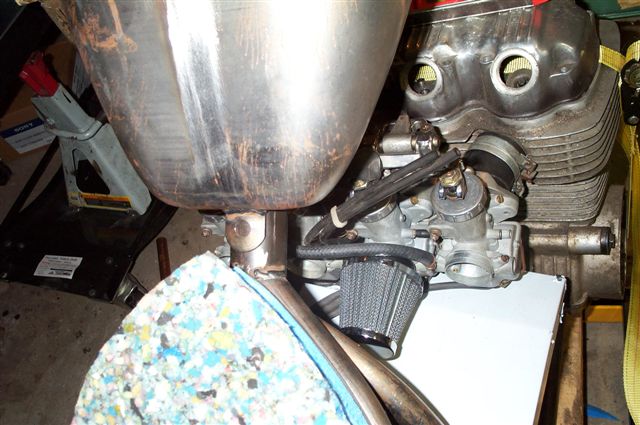
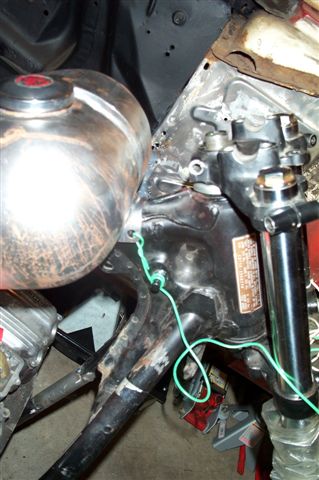
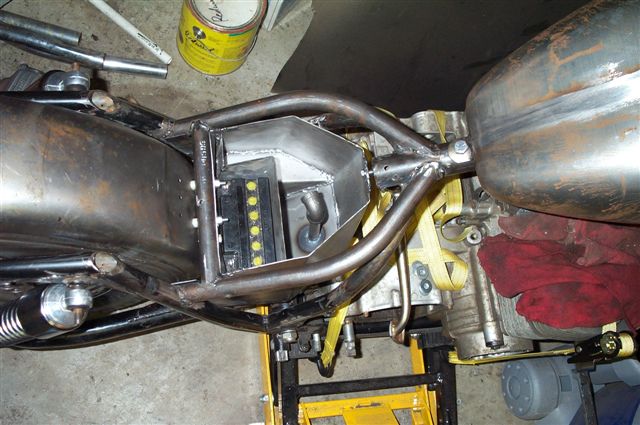
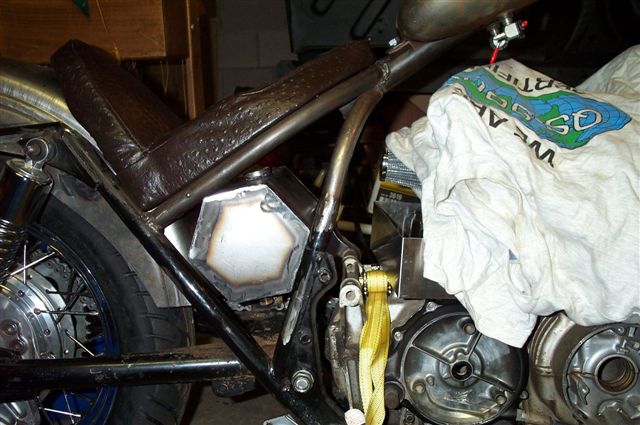
Oil tank still not welded up yet, but I brought it home to make the mountings. I weld in a piece of thick steel to inside of the backbone that covers up half of the opening. Drilled and tapped a hole here. The Oil tank will mount to this hole in the front and another in the back. The fender bolts will also serve to hold on the tank.
I had to modify the oil tank a little to be able to put the fender on. oops.
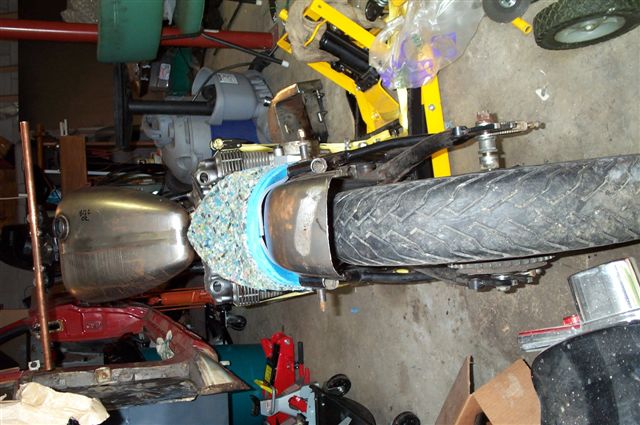
Replaced the bearings in the rear wheel, cleaned and repacked the bearings in the sprocket assembly. Mounted the tire and had it balanced.
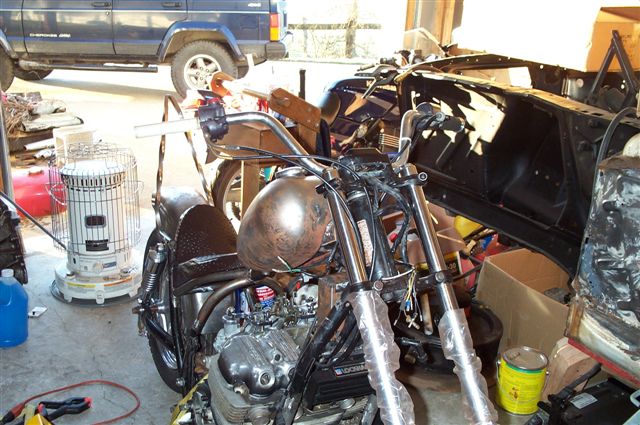
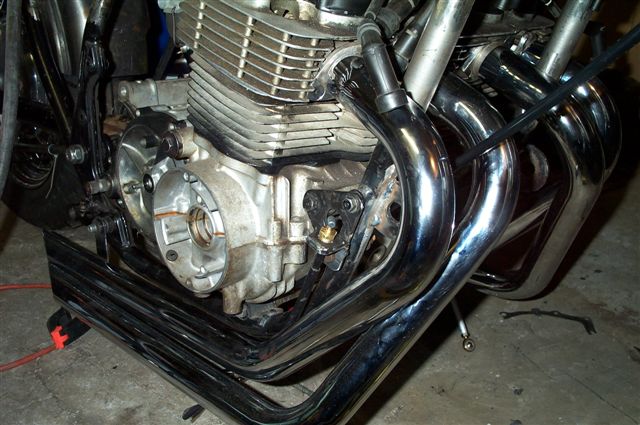
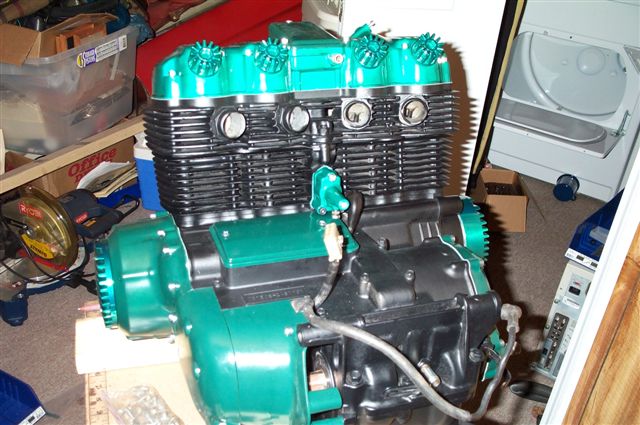
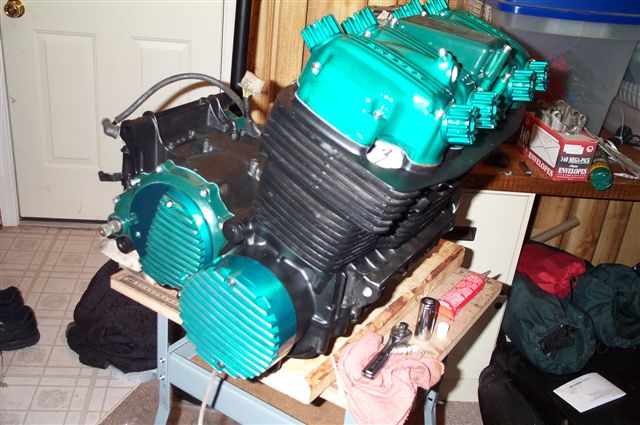
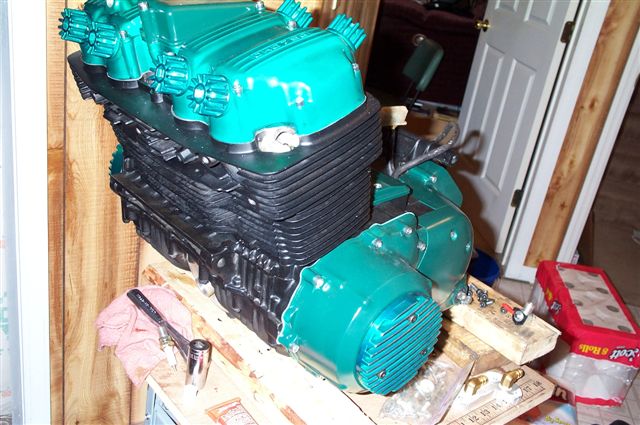
Took the top end of the motor apart. cleaned everything. Lapped the valves. honed the cylinders. Found that the #2 spark pug was not fully seating. Re tapped the hole for this.
Cleaned the engine and plan to paint the main casings black. Side covers will either be painted to powder coated. Fins and top end will remain unpainted.
I purchased a twisted sissy bar on ebay. It was made for a hard tail. I have cut it down to fit. Used a oxy/acel torch to heat it up and bent it so that it now slides into the upper shock mounts.
Miscellaneous Pictures
230 239 244
248
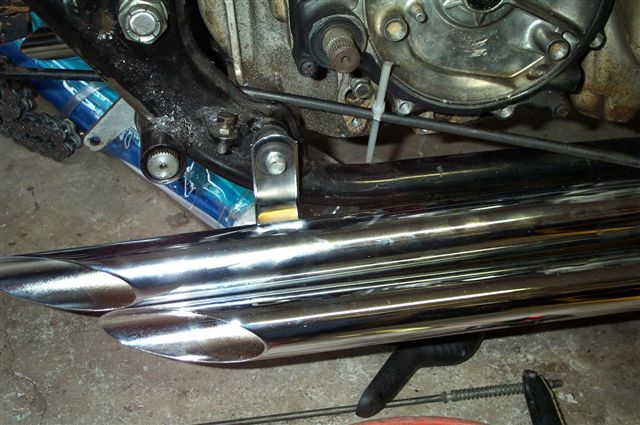
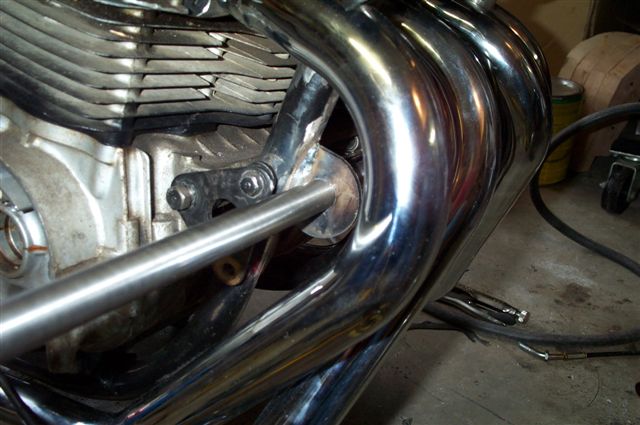
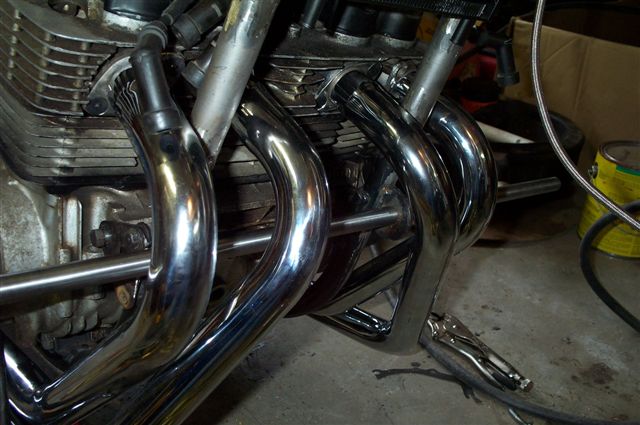
Ordered 10 over clutch and throttle cables from Low Rider Tommy. Also got drag
pipes from him.
314 pipes
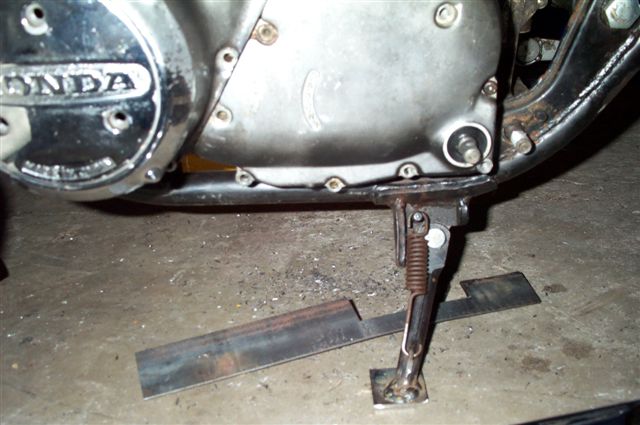
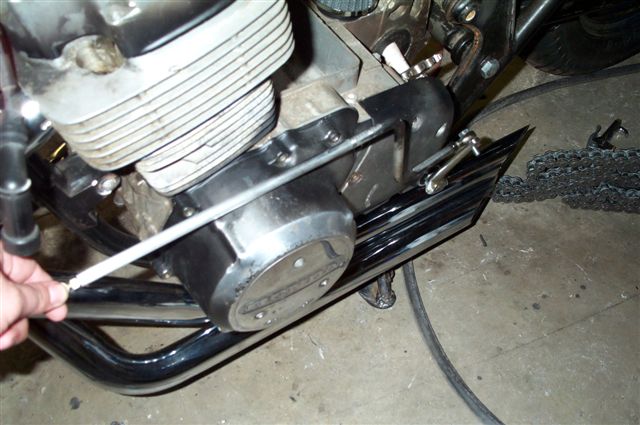
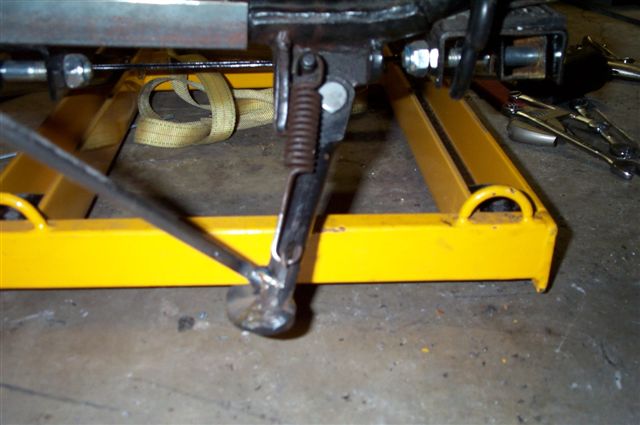
Modified the kick stand for height and also to miss the pipes.
300
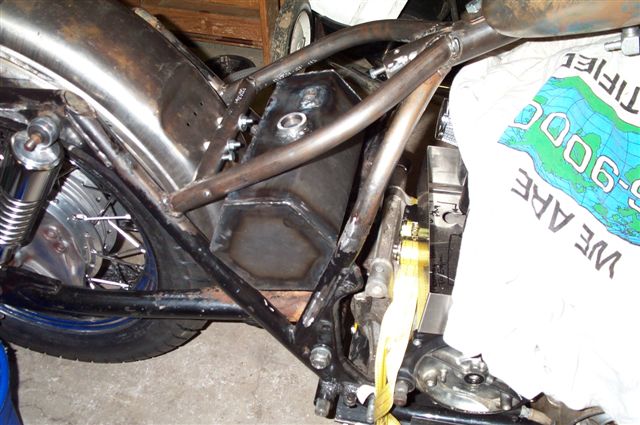
While waiting for my oil tank, I made a hex tank. Turned out pretty good but
does not look right on this bike.
302
303
304
Decided to stick with the original handlebars and controls. Changing the throttle
to a single pull.
309
310
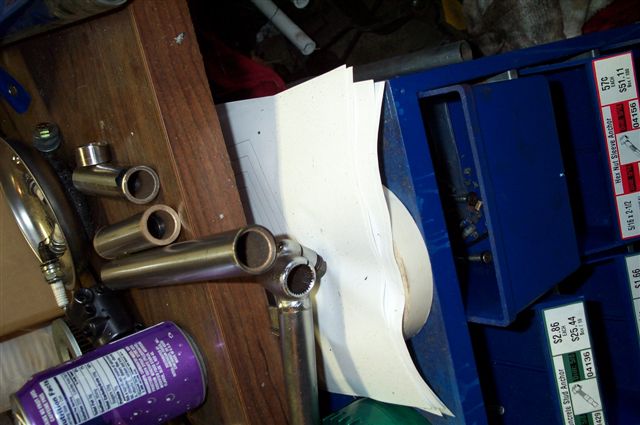
Building forward controls. Welded on two mounts to the frame. A 3/4 solid bar
goes through the mounts. I then used the 1"od stainless steel tube I was
going to use for the handlebars to make the foot pegs and brake/clutch shafts
with. The tube has a ID of 7/8". brass bushings are between the round stock
and the tube.
Brake side will be a cable ( actually the original clutch cable ) the shift
side is a linkage a made from aluminum.
312
313
315 rear cable
316
317
322 front cable
328 shift side
Bent coil box and made place to mount.
323
Making tweek bars. One will be used as a real tweek bar, the other will actually serve as a place to mount the headlight.
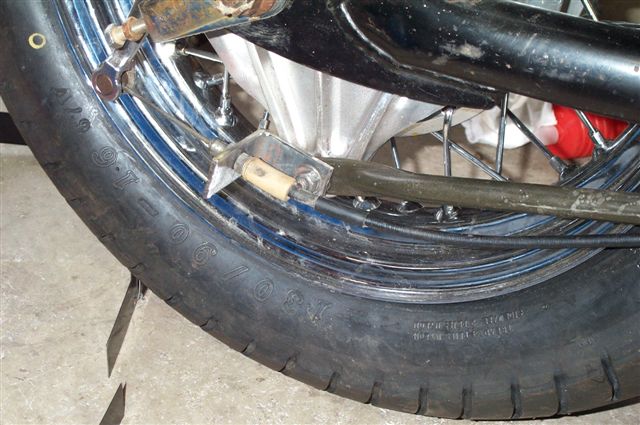
Built the license plate holder. It will attach to the swing arm using bolts. The cat eye taillight will mount to the plate.
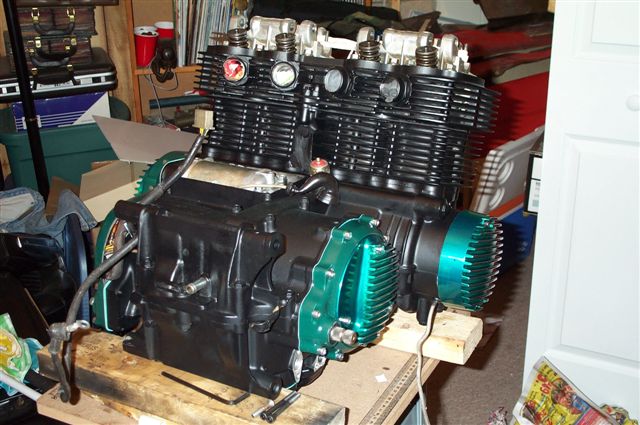
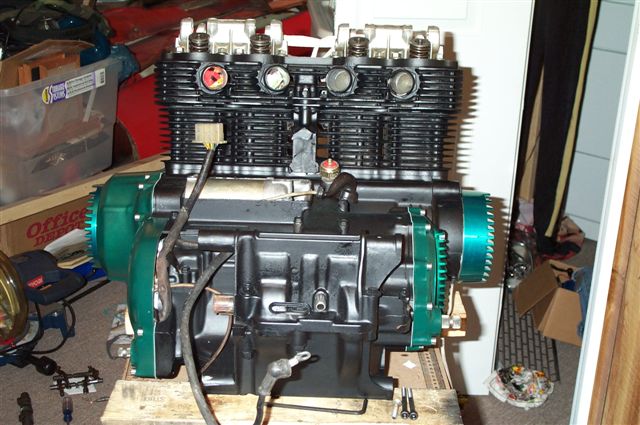
Painted engine and finned covers. Looks pretty. Made aluminum oil adapter plate
285
286.
319
320
321
318 adapter
Got new front brake line, I am worried that my master cylinder may not be any good. Will deal with that later.
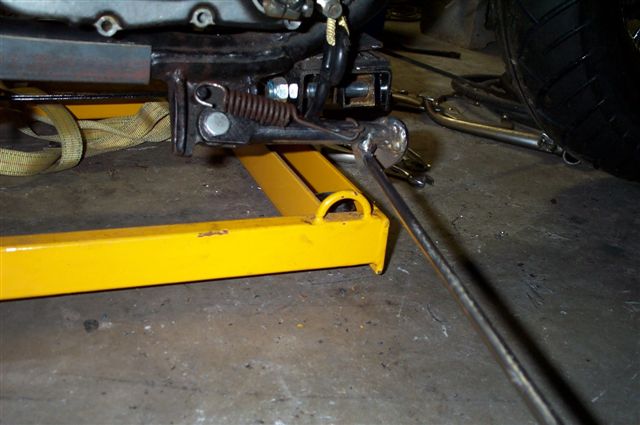
I have already drilled the frame for the larger swing arm bolt. Got it to work, however I recommend putting the frame on a drill press. Mine came out a little crooked.
pics of bike as of now 325 326 327
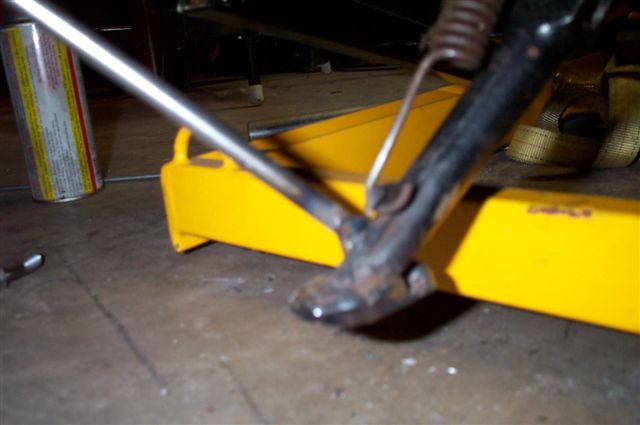
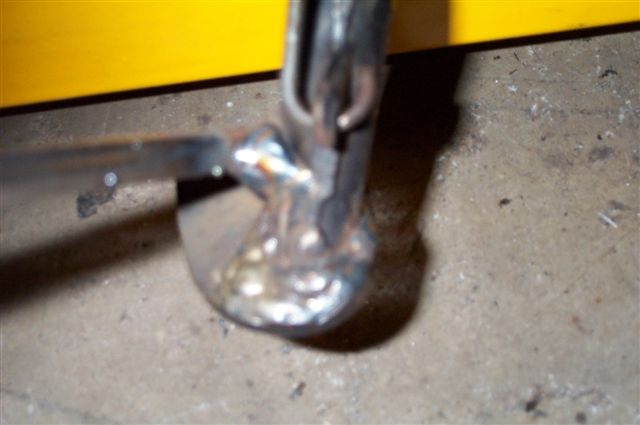
Close ups of kickstand. The right side and front ( as seen in picture ) are
cut close to the shaft. This is to clear the drag pipes. The "bar"
will just miss the bottom of the drags and will be used to raise and lower the
stand. ( in theory)
397 398 399
403
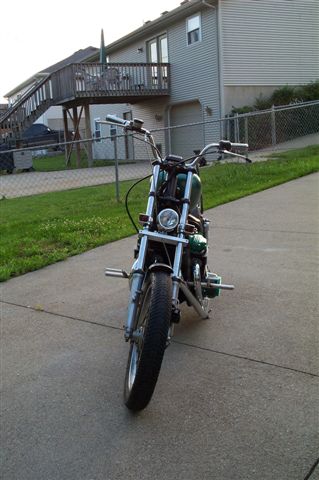
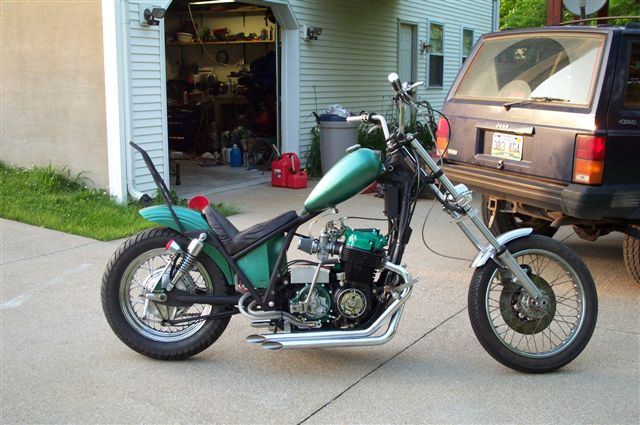
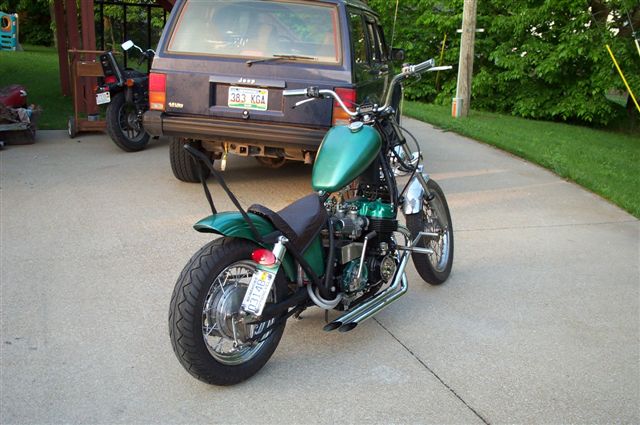
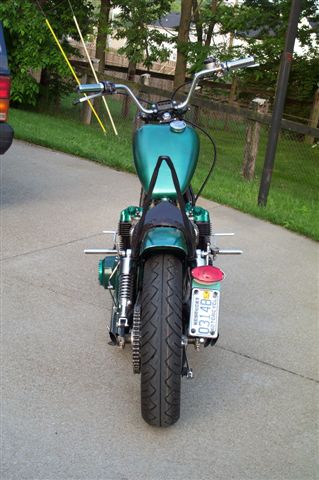
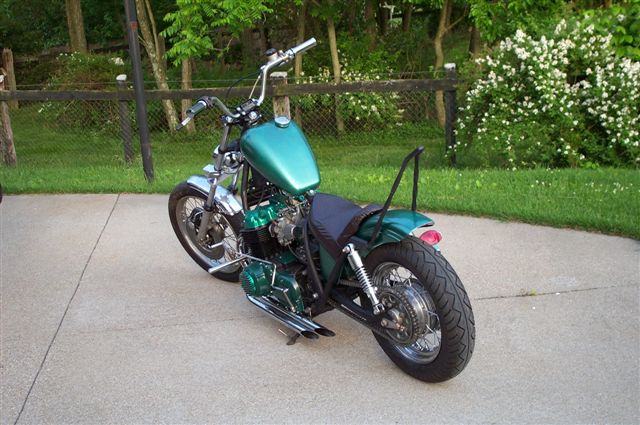
Here are some pictures right after the first ride around the block. The paint
is temporary. This will last me through the season and for testing.
left 508
left front 509
front 510
right 511
rear right 512
rear 513
rear left 514